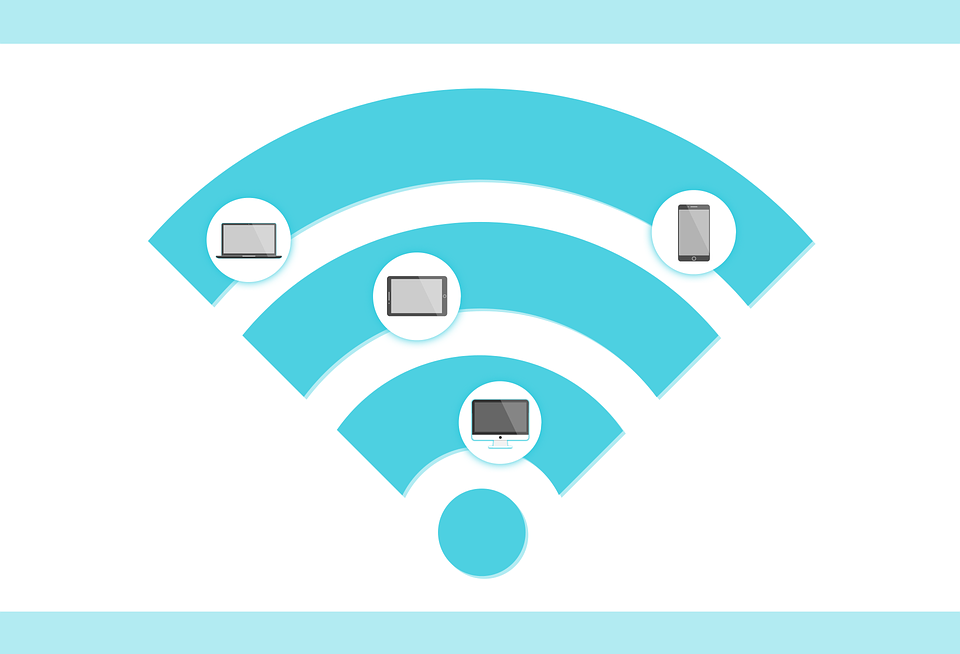
WiFi range extenders boost the existing coverage area of your router and spread signals to all directions. Bonus, they even provide extra wireless access points. In case your house is too large for router, simply step into the world of WiFi extenders. Netgear is the most popular brand when it comes to choosing an extender or repeater. There are various WiFi devices available in market such as Netgear EX6100 extender is used to stream movies without any barrier whereas Netgear WN2000RPT is ideal for keeping your devices connected with internet.
In case you are looking to set up WN2000RPT WiFi range extender in your home or office network then make sure that you have configured wireless settings properly. Once you connect your extender to current router, be certain you are getting wireless connectivity for your gadgets. If the device itself gets WiFi connections, only then it will capable of expanding signals.
There are two ways to install and configure an extender: browser-based setup and WiFi Protected Setup (WPS). In this post, we will explain simple-to-follow steps to perform Netgear WN2000RPT WiFi extender setup using smart setup wizard. Read on.
- Place your extender
First of all, you have to place your extender in an ideal location. And the best position for your device is mid-way between your PC and router. When there is a clear line of sight between both of the devices, a reliable internet connection will be established. Beware of thick walls and other electronic appliances which can be a barrier in the path of signals.
- Use Ethernet cable to connect a computer to extender
Generally users connect to extender in a wireless manner, they can even make use of its LAN ports for connecting wired devices like printers, computers, etc. Take an Ethernet cable and connect your PC to WN2000RPT. After that, plug it into a wall socket. Once it turns on, log in to mywifiext.net web address. In case you start your PC, make a wired connection with extender and open a web browser quickly. Prior to connecting to this webpage, your computer may take a couple of minutes to determine your LAN connection.
- Log in to extender
The next step is to access your range extender by going to mywifiext login page. In the address bar, type mywifiext and press enter key. It will then ask you to enter username and password.
At times, users cannot open mywifiext net due to some technical issues. To resolve this problem, make sure your extender is connected to the network either wirelessly or via an Ethernet cable.
- Set up extender using smart setup wizard
Smart Wizard helps you connect your range extender to a WiFi network. As soon as you get mywifiext net setup success, choose setup wizard option. Now, you will be presented by a list of available networks. Select a network for which you wish to set up your device.
Enter the password of network and click continue button. When you extender gets connected to network, a configuration page will display. Click on finish button. You can make changes in settings as per your need. Once done, disconnect your extender from your PC and connect it again with a device on which you wish to use it.
In this way, you can easily set up a Netgear WN2000RPT WiFi range extender with the help of smart wizard. Now, you can customize settings for your device at any time using mywifiext.net login. It is recommended to change default SSID and password for your extender in order to keep intruders away from your network.